Guide: How to Buy ETH Using Trust Wallet and MetaMask
One can buy ETH in different ways: on centralized and decentralized exchanges, through P2P platforms, payment services, cryptocurrency ATMs, and others. But one of the most popular and simple options is buying via hot cryptocurrency wallets. We’ll consider this method on the example of two of the most popular crypto wallets — Trust Wallet and MetaMask.
How to Buy ETH with Trust Wallet
Here are our step-by-step instructions:
1.You need to select ETH in the main menu of Trust Wallet. This is one of the tokens displayed in the wallet’s menu by default.
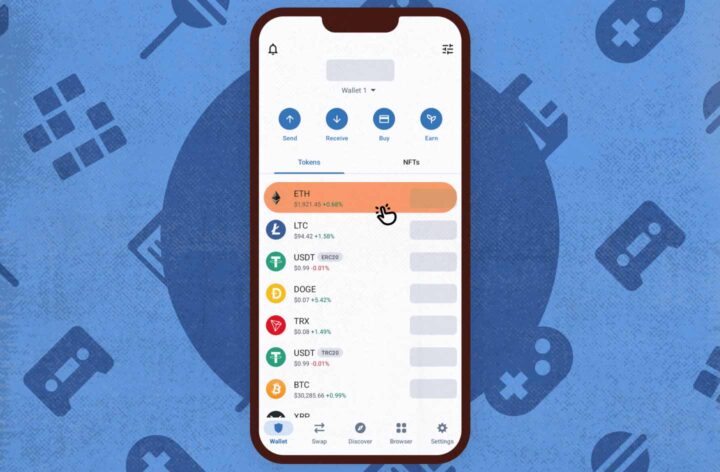
2. Click “Purchase” on the opened page.
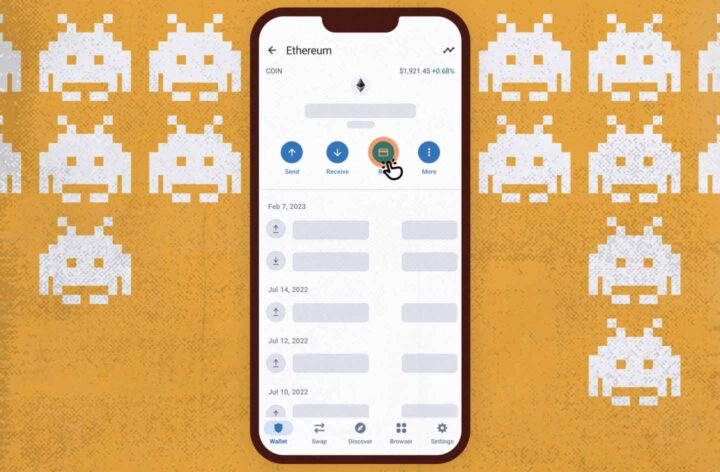
3. The system will offer to buy $150 worth of ETH by default.
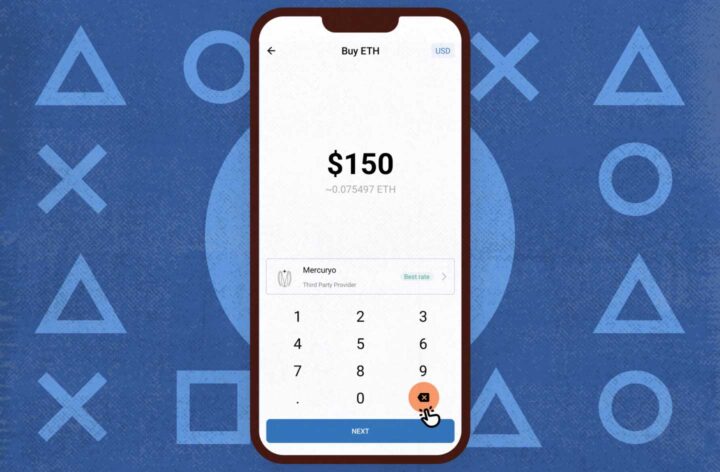
5. You can erase the offered amount and choose another one that you need.
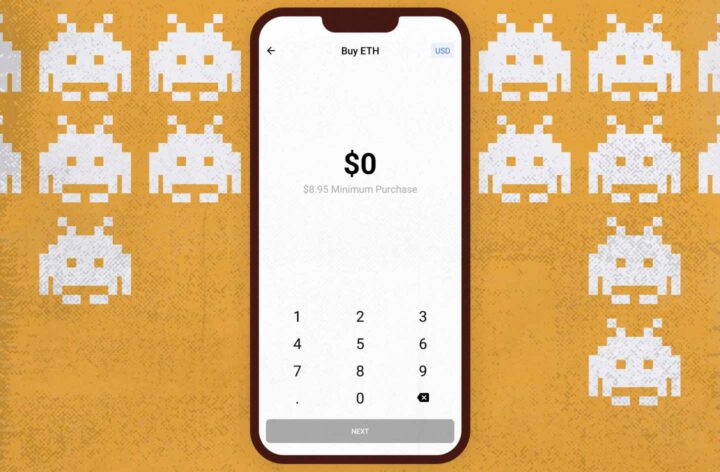
6. Then, you need to select a payment provider by clicking on the appropriate button and choosing from the list. The list of providers may differ depending on the region and the amount of ETH purchased. Click “Next” after selecting the provider.
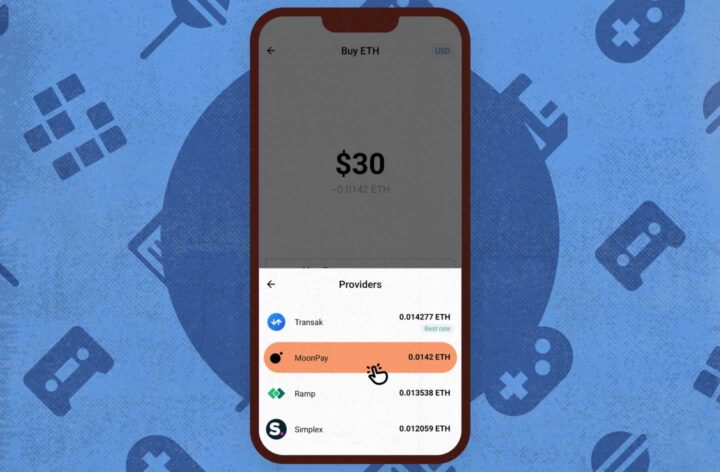
7. The system will redirect you to the payment provider page. The pages will differ depending on the selected provider, but the essence is the same. Approve the purchase amount (pay attention to the minimum amount available for purchase), enter the required personal and payment data, and confirm the transaction. This point isn’t much different from the standard online purchase, the specifics are only in entering the crypto address to receive ETH.
8. Congratulations, ETH is in your account.
Please note that the purchase described above is paid with fiat funds using a bank card.
How to Buy ETH with MetaMask
The sequence of actions in MetaMask is approximately the same, the only differences are caused by the peculiarities of the interface:
1.MetaMask’s main menu displays only ETH by default. You need to select it.
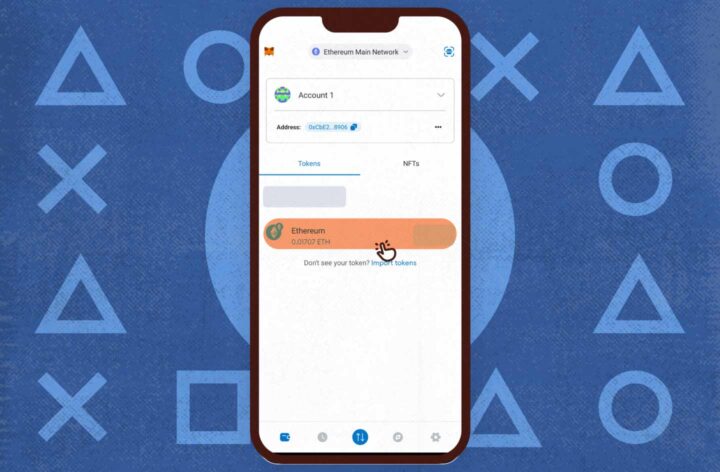
2. Click “Buy” in the opened window.
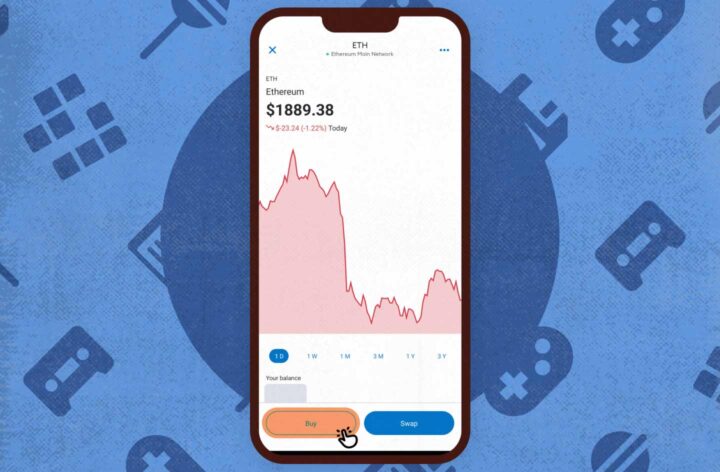
3. The system will inform you about the conditions of buying cryptocurrencies when you make the first attempt to buy tokens. You’ll need to click “Get started.”

4. In the opened window, select your country of residence from the list.

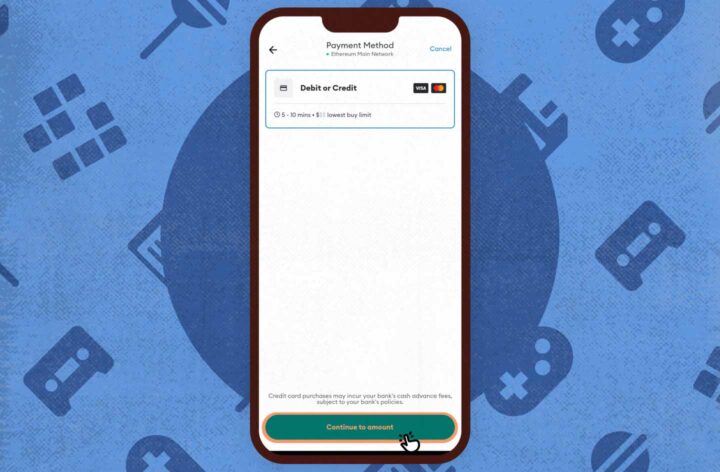
5. Next, the system will offer you to choose a payment method, but there’s only a bank card option. Press “Continue to amount.”
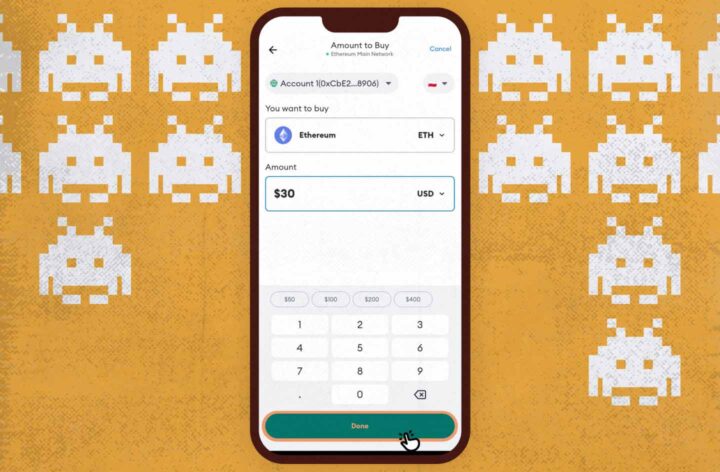
6. You can enter the amount of ETH you need to buy in the opened window. The amount field displays $0 by default. After entering the desired amount, click “Get quotes.”
7. The system will offer payment providers that operate in the selected region and support the required amount of ETH purchase.
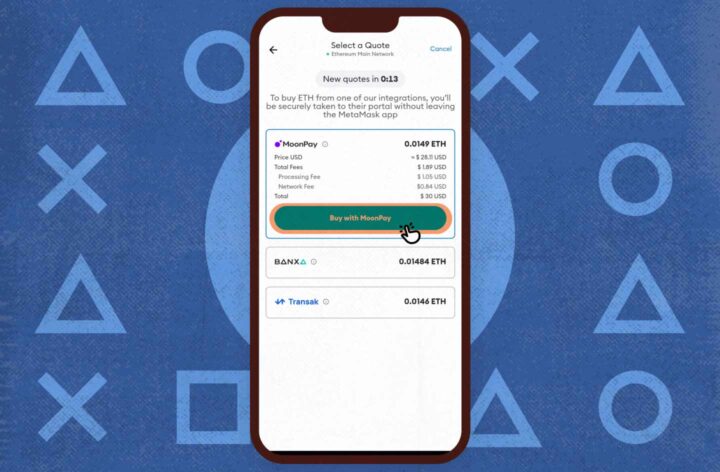
8. The next steps are identical to those already described above. The system redirects the user to the selected payment provider’s page, where you need to approve the purchase amount, enter the required personal and payment data, and confirm the transaction.
9. Congratulations, funds are now available at your ETH address.
It’s worth noting that buying ETH with other hot wallets practically doesn’t differ from the mentioned options. Differences concern only the peculiarities of the interface of a particular app, but the general sequence of actions remains the same.
Note: Be careful when working with cryptocurrency wallets. Download only verified apps from trusted sources. Never provide personal data on third-party platforms. When buying ETH and other cryptocurrencies, make sure all entered data is correct. The specificity of the cryptocurrency market is that only users are responsible for their actions, and all transactions using digital assets are irreversible.


